Simple Trim
01. Feature Introduction
Simple Trim is designed specifically for "rapid cutting without re-encoding". No need to wait for layers of re-exporting like traditional video editing software; you can instantly "extract" the video segment you want based on the start and end points you mark.
- No loss in visual quality, resolution and colors are entirely unaffected. (Stream Copy)
- Directly select exact second marks through the preview player.
- Ideal for scenarios where you want to pare down an hour of material to a few seconds or minutes.
02. Step-by-Step Operations
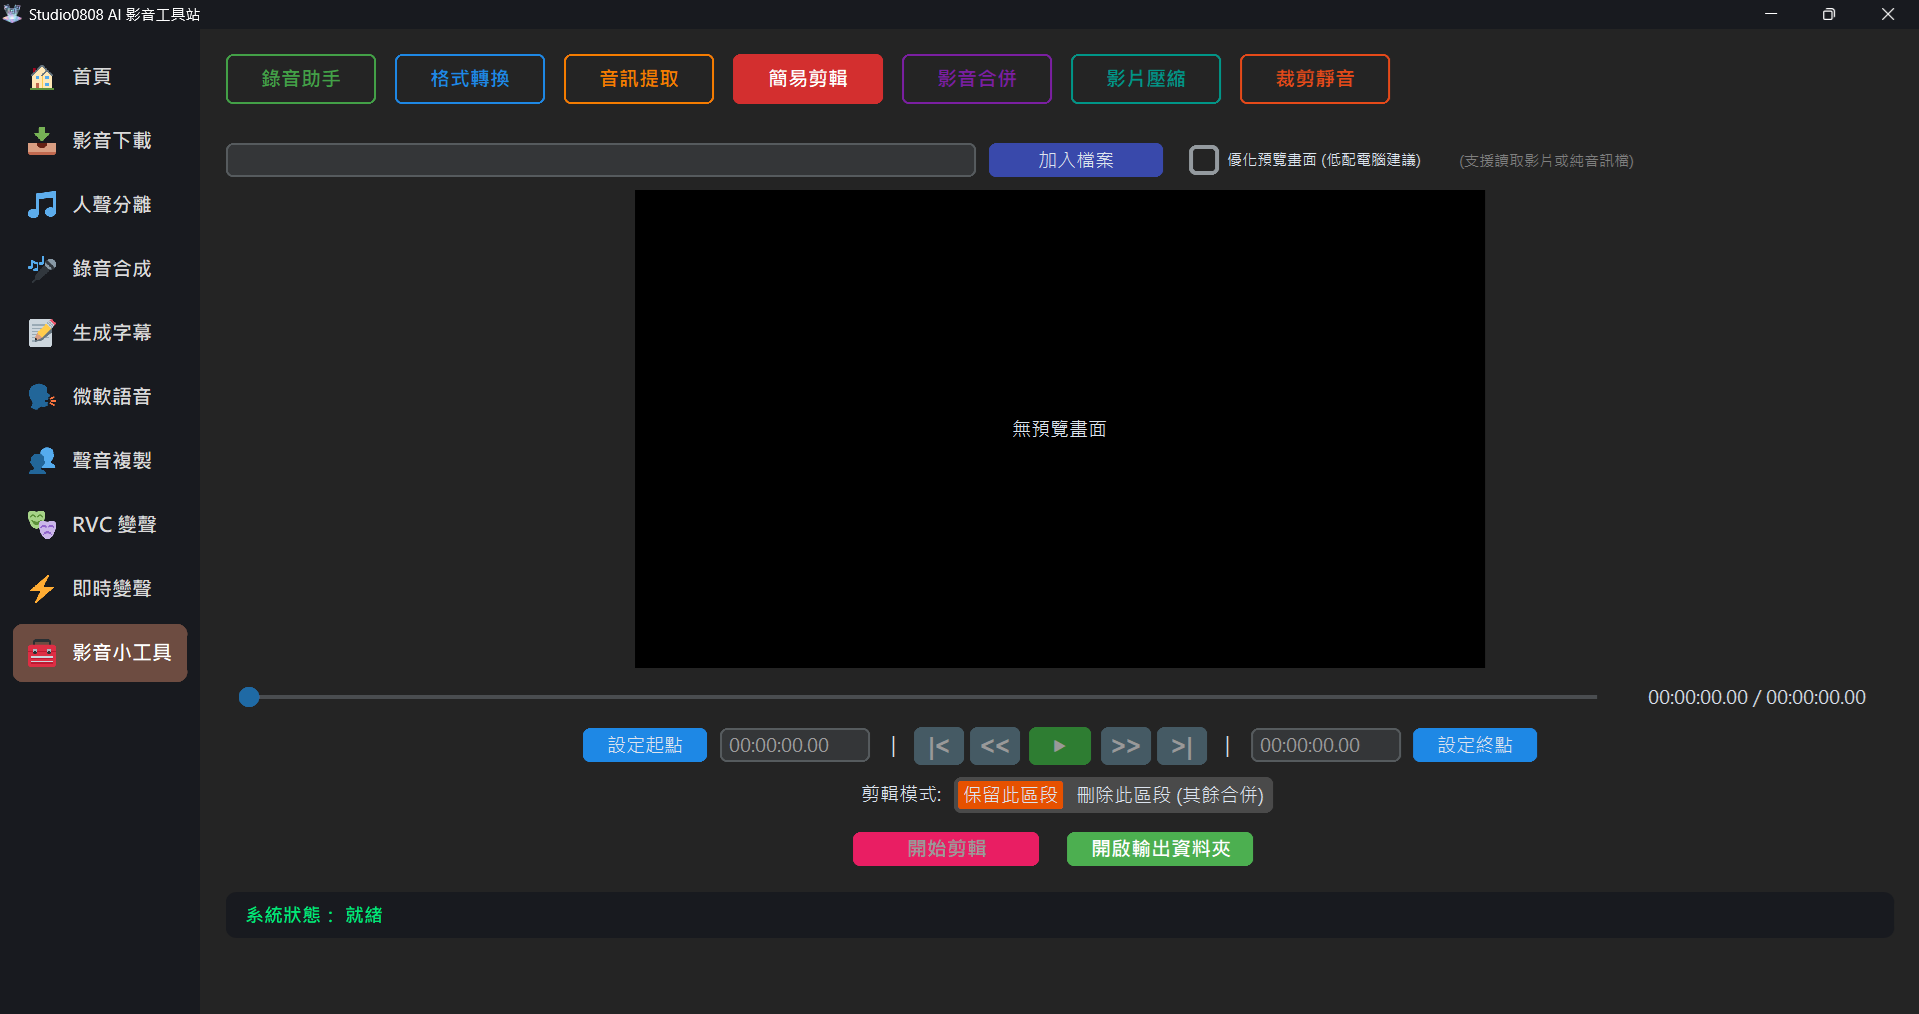
- Add File: Click "Add File" to load the target video file you intend to trim.
- Preview and Locate: Once the video successfully displays in the black preview window, you can use the traditional control buttons "|<, <<, ▶,>>, >|" below to jump and play to locate the range you need to capture.
- Set Markers:
- Set Start Point: Pause the playback at the beginning of what you want to keep, and press this button.
- Set End Point: Pause the playback at the end of what you want to keep, and press this button.
- Start Trimming: Once both the start and end points are established, the pink "Start
Trimming" button will unlock. Click it, and the system easily slices the clip at light speed.
💡 Reverse Trim Mode: You can switch the mode to "Delete Segment". The system will remove the specified segment and seamlessly merge the remaining start and end parts together!
💡 Tip: The standalone trimmed clips will be placed in the Outputs/Tools folder.
03. Frequently Asked Questions (Q&A)
Q: Why aren't the cut points exactly on precise seconds?
A: Because the system uses a high-speed No Re-encoding mode, the trimming engine can only slice from the "Keyframe" closest to the target timestamp. If you demand millisecond precision, please switch to Non-Linear Editing (NLE) software instead.
Q: Why does the preview screen appear stuttery or go black?
A: The current simple trim playback preview is limited by the Tkinter UI framework, recommending it primarily for rough marker use. Extremely high-resolution videos may experience slight stutters when dragging the timeline.